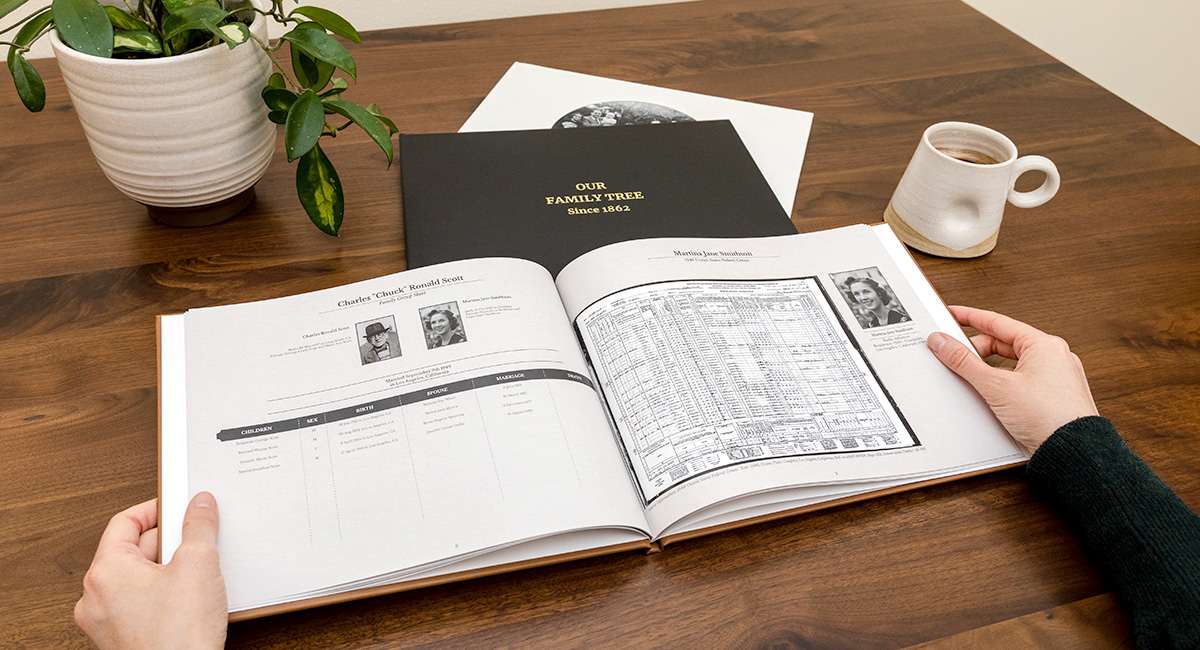
Every family has a story to tell. Perhaps one of your relatives crossed the country in a wagon on the Oregon Trail, or you can trace your family back beyond Ellis Island. Whatever your story may be, there’s no better way to memorialize the wonderful people that make up your family than by preserving all that history in a book.
MyCanvas is the only solution that automatically turns your family data from Ancestry.com into a keepsake book that helps you tell your family’s unique story. Our classic layouts help bring your history alive in a way that you’ll want to pass down for generations to come.
To get started creating your Family History Book, check out these six tips for creating a keepsake your family will treasure.
Step 1. Gather all the details
Make sure to grab all the details you can get your hands on! That means double-checking with your gran-gran to make sure you have the correct spelling of everyone’s name and even their maiden names. You’ll also want to get birthdates, including the year and place of birth, as well as any dates of death.
Step 2. Have digital versions of photos ready
Check with the “history keeper” in your family. They likely have stacks of precious portraits of your relatives, so make sure to include them in your family history book and preserve a digital version. Smartphone cameras have excellent quality to digitize these photos; just make sure you have bright, even lighting and a steady hand! Digitize those photos by simply snapping a photo with your phone and uploading them to your Ancestry family tree. Or, directly on MyCanvas to add them into your book.
Step 3. Set aside time to confirm facts on Ancestry.com
The more details you’ve confirmed and organized on Ancestry, the less you’ll have to edit in your family history book and any other MyCanvas projects. Ancestry will suggest facts based on the information you gave about your family tree as well as find images of your family members. You may even find more photos of family members and records that you were unaware of!
Step 4. Note any special events that won’t show up on public records
Some special dates you may want to include in your family history book that may not show up in public records are things like baptisms, adoptions, graduations, and other meaningful dates. These special dates are important to include in your family history book, but you’ll need to add them in manually.
Step 5. Get good photos of your favorite faces
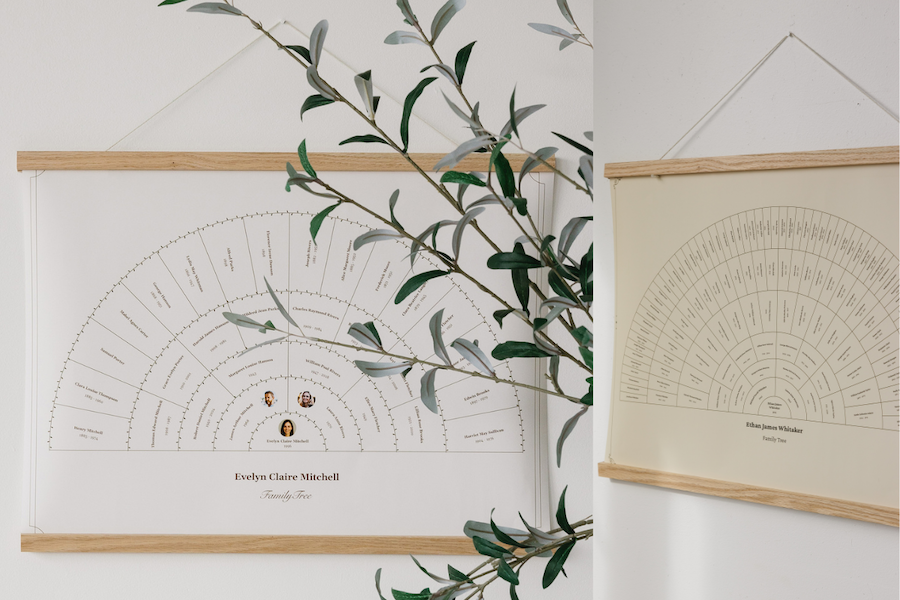
Not everyone has a good profile picture that you’ll want future generations to remember you by. This is the perfect time to roundup some family members, pick out great outfits and snap pictures of your gorgeous mugs to include in your family history book. While you are at it, why not get a wall art print for your family gallery wall too?
Step 6. Check if your siblings want a copy
After you get to show off your family history book, you know that your sister and brother will want a copy for themselves. If you forget to order one for them, or they change their mind after seeing your copy, you can always order a second copy by logging onto your account and clicking on your past orders. You will also get a link to a digital version of your book that you can share with your family!
Once you’ve got everything you need from these six tips, you are ready to create your Family History Book! If you get started and find that you still need to locate some details or want to keep working on it later, you can easily save your project to have plenty of time to get it just right before it goes to print.
If you need any other help putting together your family history book or editing the details of your book on our site, be sure to visit our Youtube channel for some additional tutorials.